
Pharloom is a kingdom that demands creativity, and in Hollow Knight: Silksong, the true depth of combat unfurls only when a player dares to experiment with Crests and tool combinations. While the original Hollow Knight rewarded precise nailplay, Silksong pours a whole toolbox of deadly possibilities into the player’s lap. From searing magic to relentless minions, the builds that have surfaced in 2026 showcase an extraordinary range of playstyles. Some setups lean into lightning-fast slashes, others transform healing into a weapon, and a few let the tools do all the talking while the player simply dances away from danger. Every crest tells a story, and every colour-coded tool slot becomes a chance to bend the rules. The community hasn’t crowned a single “best” build, because effectiveness hinges entirely on how someone wants to approach the game — but these eight configurations have earned their reputation as the most thrilling, reliable, or delightfully broken ways to carve through foes. Below, each build is laid out with its key components, ideal tactics, and the mischievous personality it brings to the battlefield.
8 The Rabid Fiend — The Beast Hungers
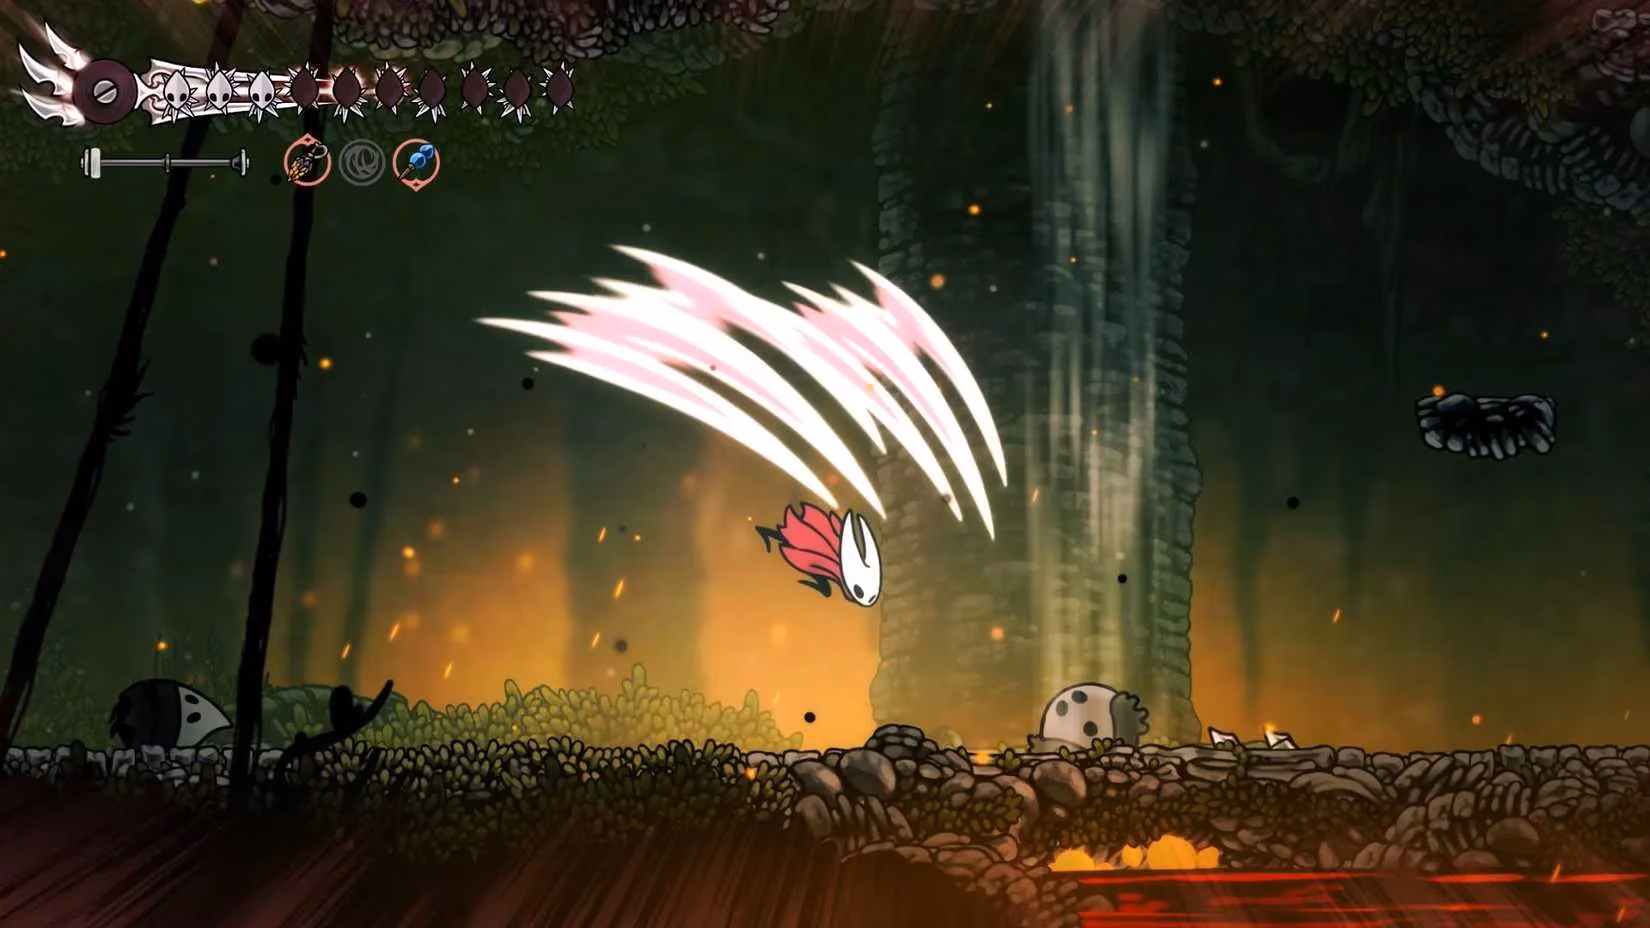
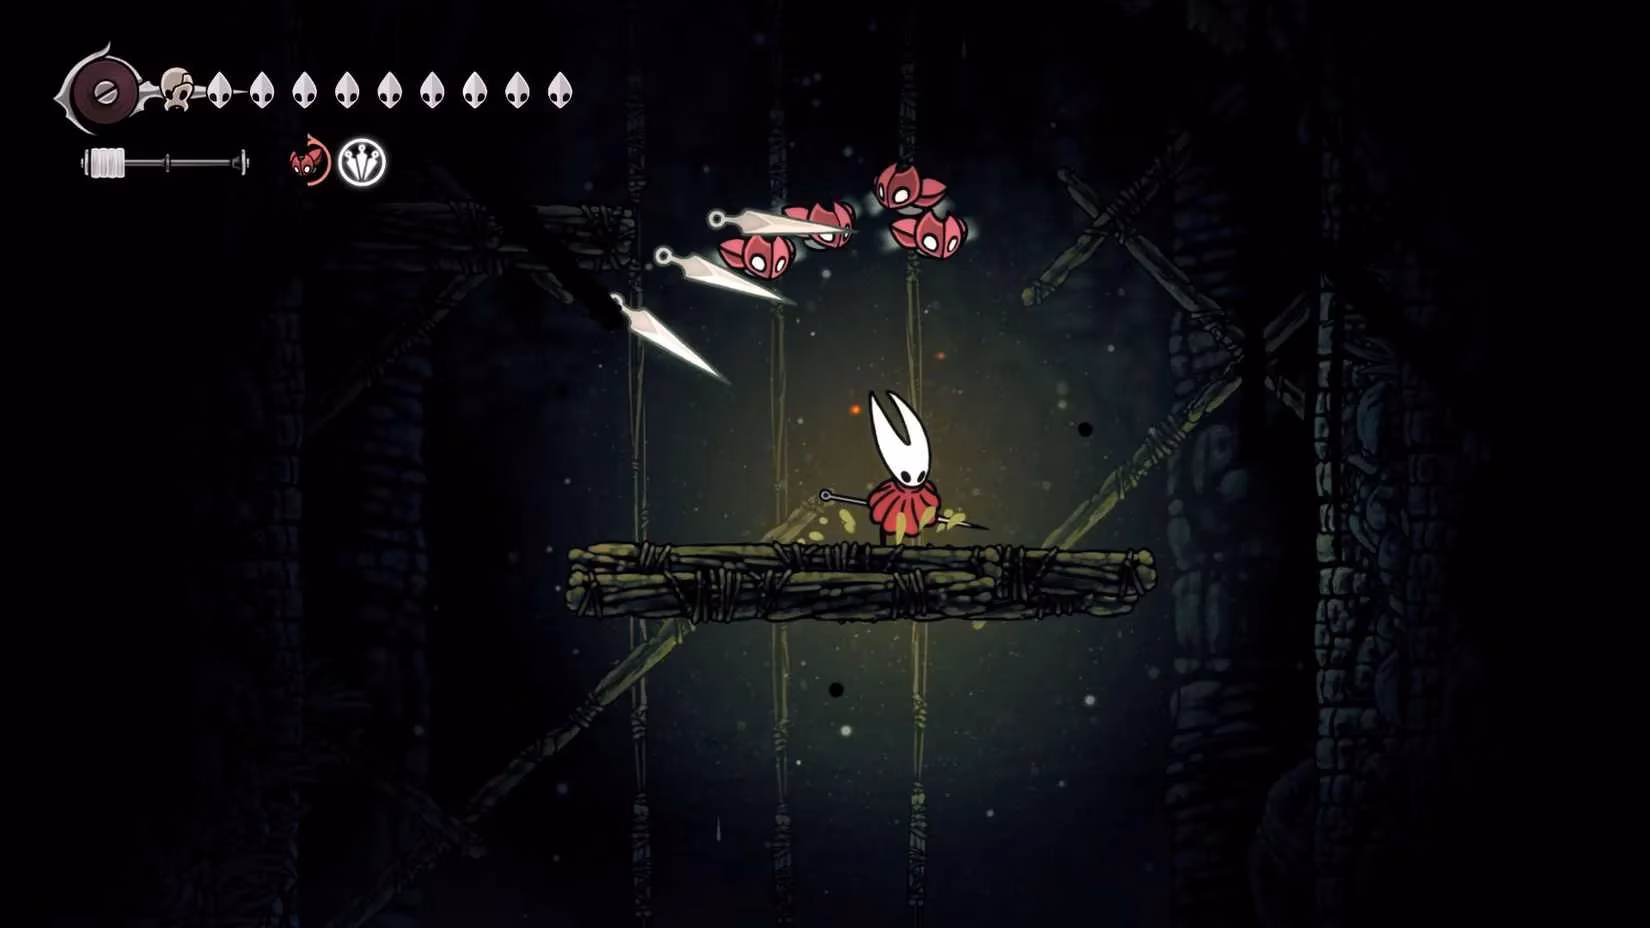
The Beast Crest doesn’t just augment — it hungers. This build transforms Hornet into a ferocious whirlwind that trades caution for raw, adrenaline-fueled carnage. At its core, the Beast Crest’s lifesteal property allows a player to regain health with every hit, encouraging a brawler mentality that other setups shy away from. Pairing it with the Barbed Bracelet further boosts the healing output, even though the bracelet normally gets a side-eye from veterans. A Longclaw fitted into the Vesticrest creates breathing room when the mobs get too thick, while the Flintslate adds a flaming bite that makes every blow sear. Honestly, this whole arrangement is a bit like riding a crazed stag — half the time it feels like disaster, but when the rhythm locks in, opponents melt before they can even react. It’s not a build for the faint of heart, but in the right hands, the damage output borders on ridiculous.
7 The Regenerating Warrior — Hornet of the Blue Blood

When the stakes are so high that every mask counts, the lifeblood answers. The Plasmium Phial, teamed with the Architect’s Crest, does more than just pad the health bar — it overwrites ordinary masks with the stubborn, regenerating blue variants that refuse to stay broken. Steel Soul runs in particular have turned this build into something of a sacred strategy. The philosophy is simple: survive first, damage later. A Fractured Mask and a handful of Tacks keep the pressure on safely, while the Ascendants’ Grip becomes a true lifeline, effortlessly scaling walls to unreachable perches. From that ledge, Hornet can simply wait and regenerate, watching enraged bugs flail below. It might feel like cheesing the fight, but when a single death means restarting the entire journey, nobody’s casting judgment. The build itself almost seems alive, patiently hoarding every droplet of health as though it has a will of its own.
6 The Writhing Witch — Pain Through Healing
The Witch Crest is a strange shape to master — it asks the player to unlearn everything they know about survival. This build weaponises the very act of healing. With the Claw Mirrors and the Multibinder slotted together, every time Hornet binds herself in place to recover, the world around her erupts: thorny witch tendrils lash outward, and a fierce explosion from the twin mirrors punishes anything foolish enough to linger. The Injector Band shortens the heal duration, turning what was once a vulnerability into a rapid-fire burst. Adding a Pollip Pouch even drips poison into the mix, so enemies take damage over time from the same action that keeps Hornet alive. This is not a safe, backline playstyle — it demands a warrior who’s willing to stand in the storm and trust their timing. Mastering it feels like conducting a violent orchestra, where every heal note sings of agony for the foe.
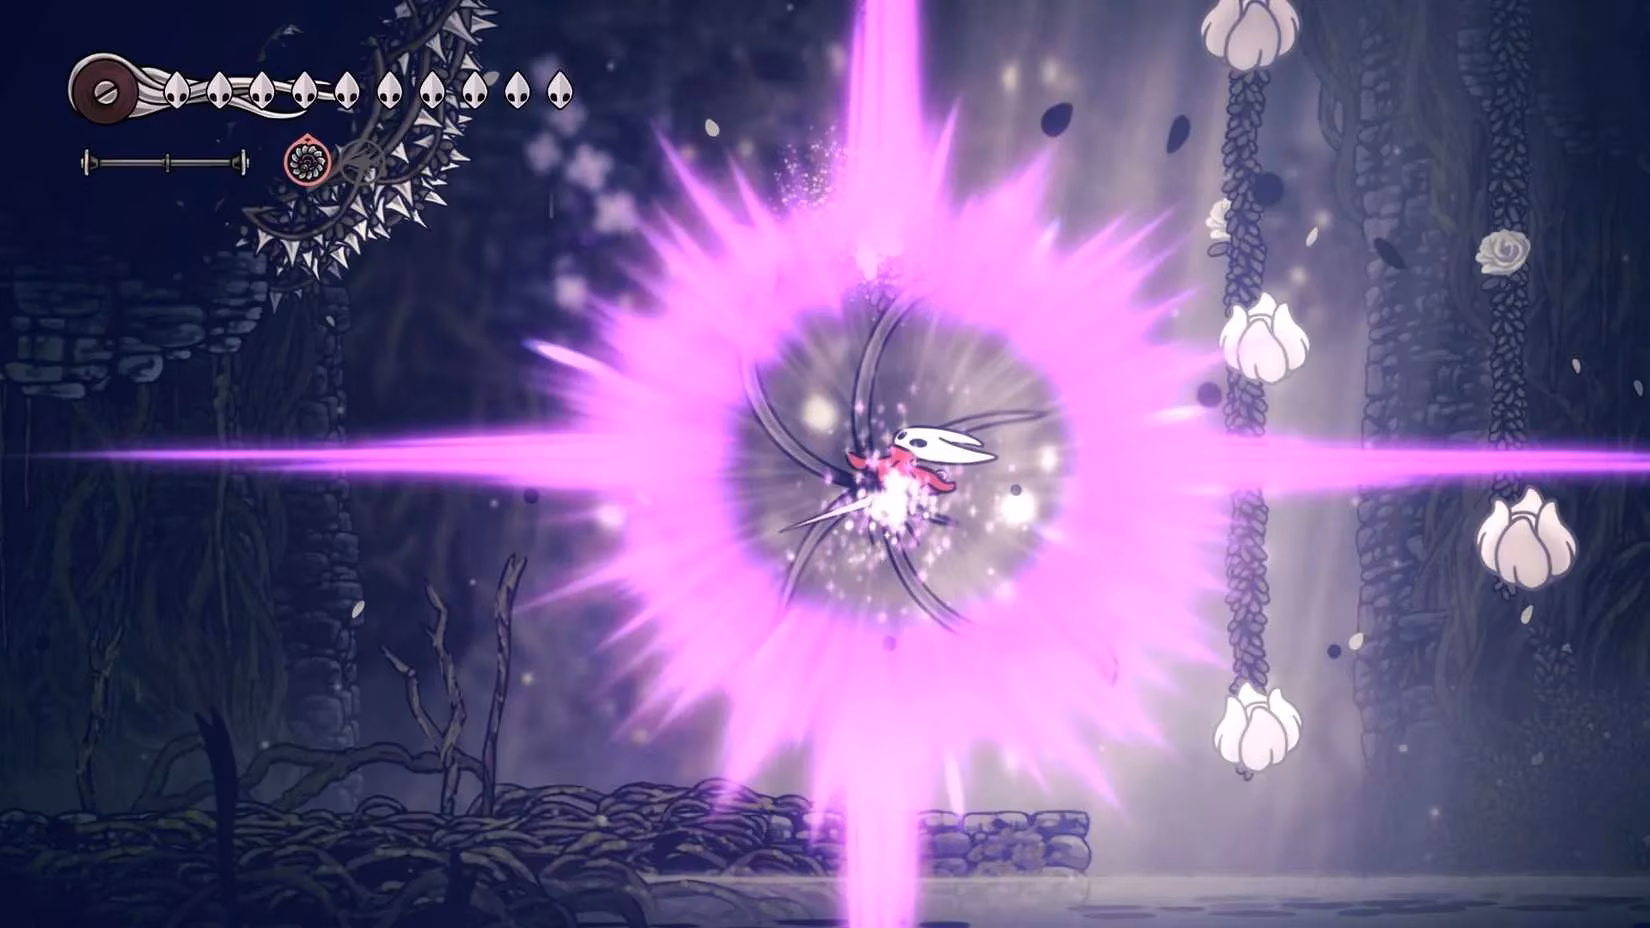
5 The Silken Sorcerer — Magic of the Spider
Who needs a sharp needle when pure silk can rewrite the rules of the battlefield? The Shaman Crest quietly bestows a 40% boost to every Silk Skill right out of the gate, and the right blue tools amplify it further: the Volt Filament electrifies each cast, while the Egg of Flealia lowers the silk cost when Hornet’s health is pristine. Recent patches may have clipped Thread Storm’s wings, but Cross Stitch offers a crisp counterattack, Silkspear becomes a reliable workhorse, and Sharpdart provides a dodge-and-punish tool that extracts Hornet from the stickiest predicaments. Staying at full health is the catch; one solid hit and the efficiency plummets. But once a player finds the rhythm, dancing through encounters with nothing but shimmering silk feels like a magic show where Hornet herself is the spell.
4 The Original Hunter — The Apex of Evolution
The Hunter’s Crest initially feels awkward with its downward attack, but once it evolves, it becomes a predator in its own right. This build is for those who know every boss move like a familiar song. The crest’s true power awakens after landing 12 consecutive hits without taking damage — at that point, standard nail strikes become monstrously strong. Pair it with the Flintslate for extra fire damage and a Snitch Pick to enhance dodging, and Hornet transforms into a high-risk, high-reward apex hunter. The playstyle is unforgiving: one misstep resets the stack and forces a restart. But when the combo holds and every strike lands with thunderous impact, the feeling is of something primal and unwavering. The Hunter’s Crest doesn’t just empower — it hungers for perfection.
3 The Cautious Summoner — Let Your Minions Do the Dirty Work
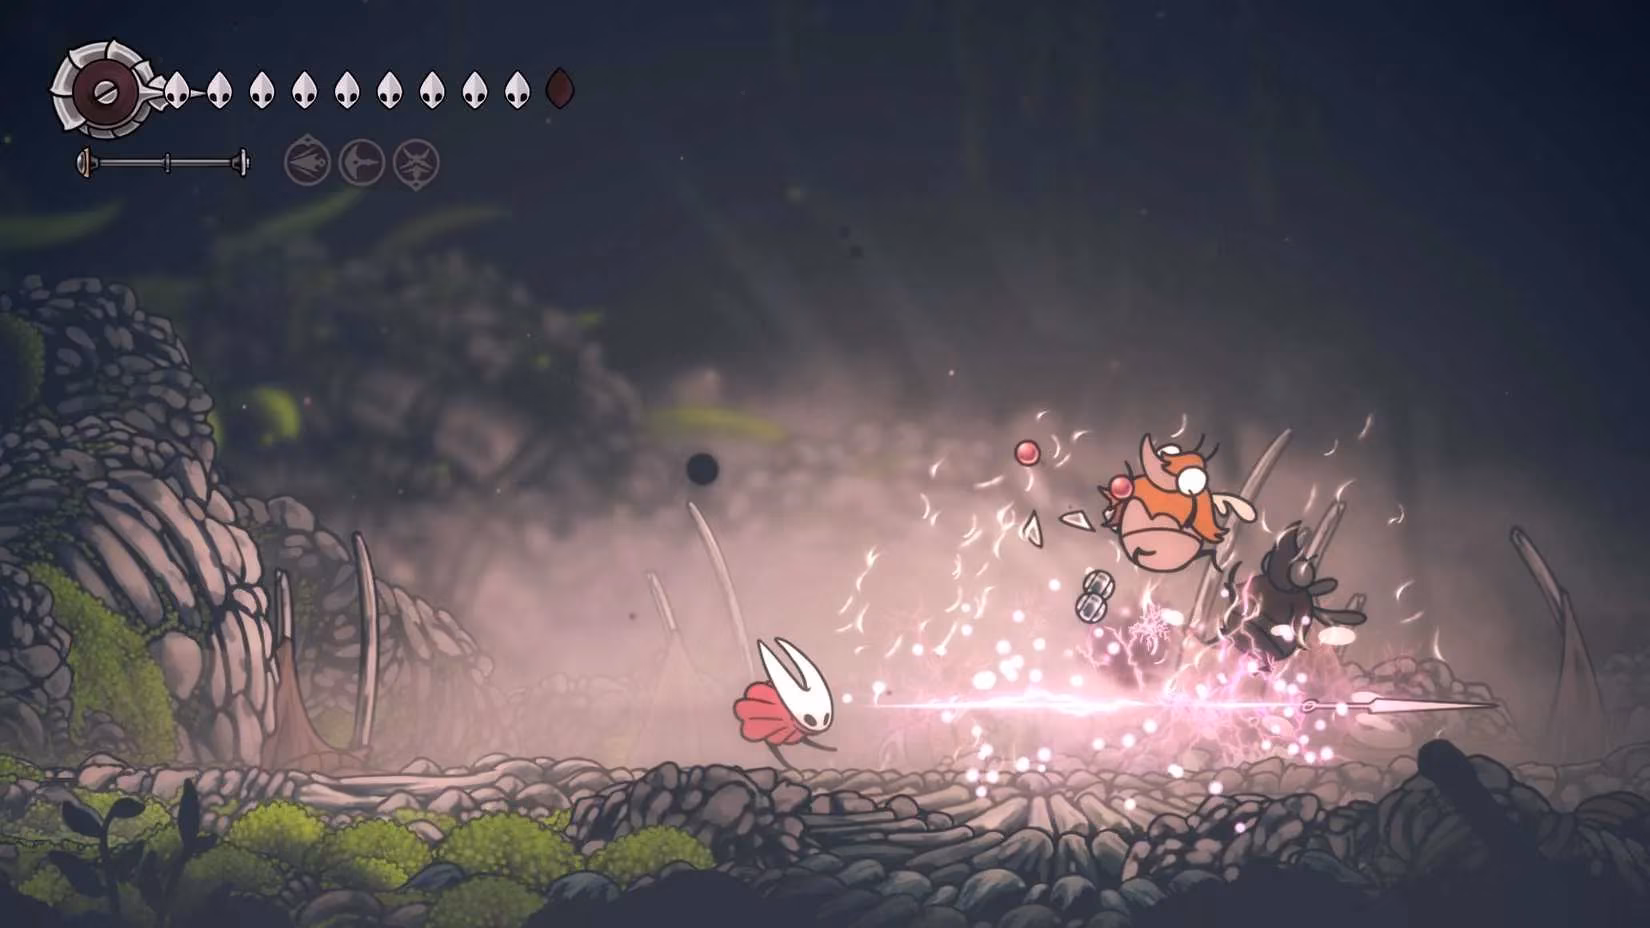
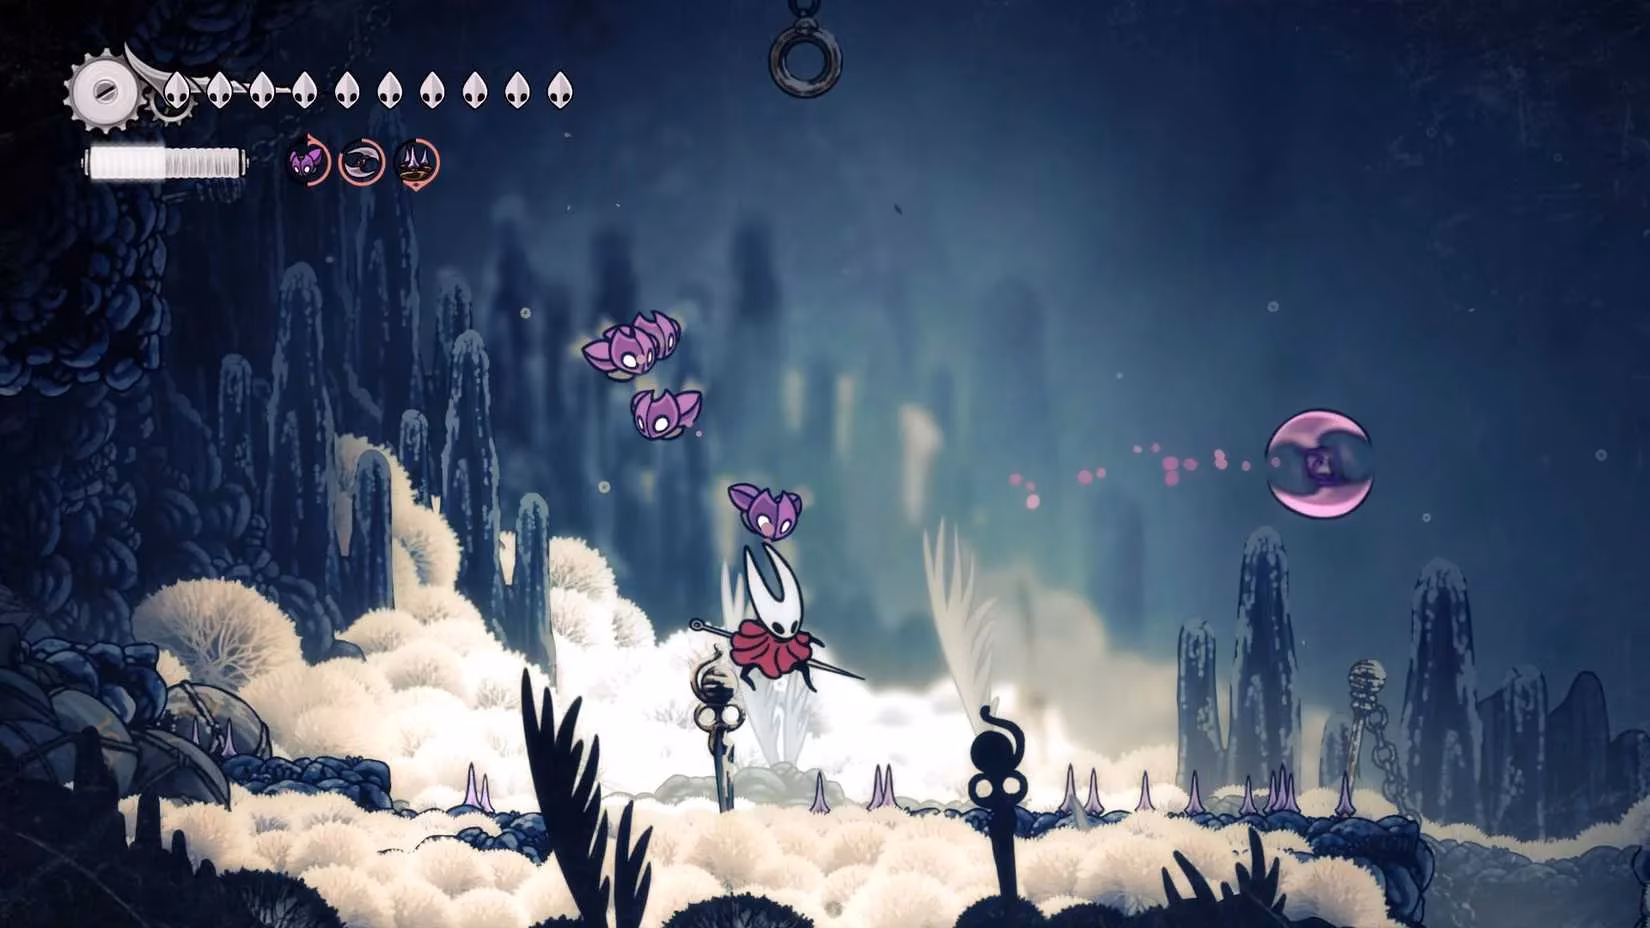
Sometimes the smartest move is to stop swinging and let the gadgets run the show. The Summoner build pairs Cogflies — those relentless little mechanical gnats — with the Wispfire Lantern, creating an army that chases down enemies while the player simply focuses on survival. It’s almost magical: as long as the silk gauge flows, the tools do all the work, and with three silk hearts plus a weavelight equipped, the silk regenerates automatically. Needle attacks become a bonus rather than a requirement. This setup carried many a struggling player through the Coral Tower Gauntlet when knowledge of boss patterns was still shaky. There’s a quiet satisfaction in watching foes dismantle themselves, and the build itself seems to possess a patient, puppeteering personality that asks very little of its user.
2 The Rapid Slasher — Rip and Tear!
The Wanderer’s Crest doesn’t overthink — it just speeds everything up and dares the world to keep pace. This build is an exercise in pure aggression, stacking Longclaw for reach, a Weighted Belt for attack rate, and Flea Brew to push the needle into a flickering blur. Magnetite Dice join the party to proc critical hits as often as possible, and as long as the silk gauge stays generous, the onslaught rarely falters. A player will die plenty, but the trade-off is a breathtaking flow that slices through the early and mid-game like paper. Against ultra-endgame nightmares like Lost Lace, the raw speed may hit a wall, but for the vast majority of Pharloom’s horrors, the Rapid Slasher turns combat into a whirlwind clinic of button-mashing finesse. It’s a blast, plain and simple, and the Wanderer’s Crest almost giggles with delight every time another combo streak lights up the screen.
1 The Toxic Inventor — Let the Venom Flow Freely
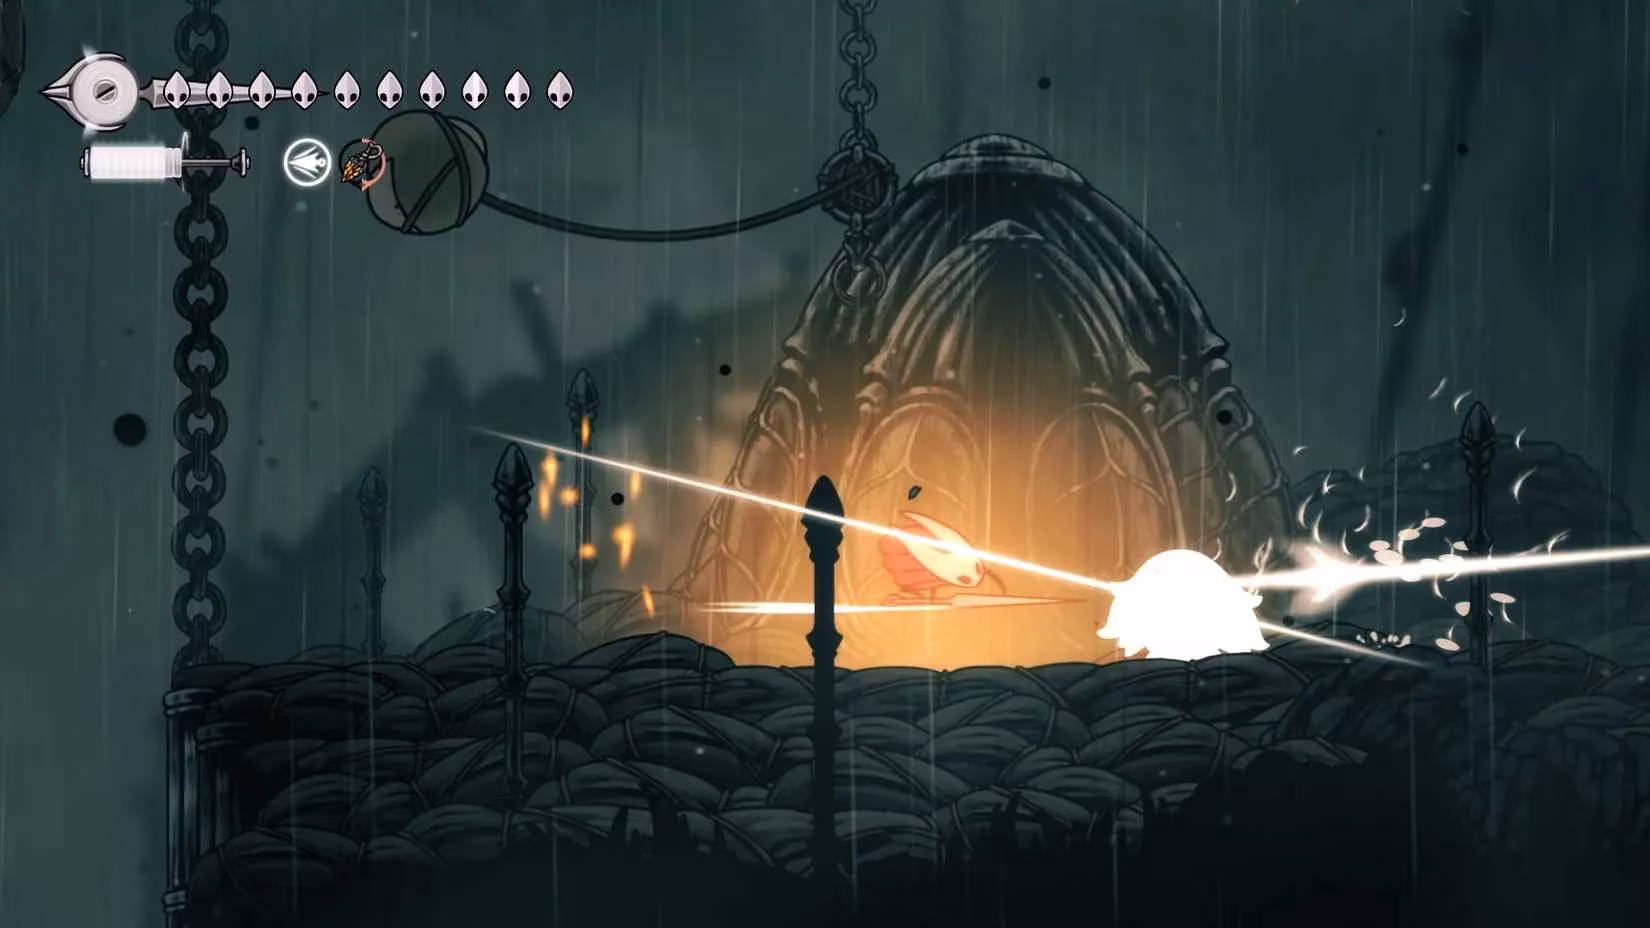
This is the build that makes the most hardened veterans grin nervously — it’s that strong. The Architect’s Crest becomes an on-the-go crafting station, and when fed with enough Shell Shards, it can churn out a near-infinite supply of deadly red tools. Cogflies swarm in packs of four, Tacks litter the ground, and the Curvesickle scythes through the air, all from a safe distance. The true genius is the Pollip Pouch, which infuses every tool with venom, so the entire screen becomes a toxic nightmare for enemies. While the manual needle might stay sheathed for whole fights, the arsenal does the work without risking a single mask. Farming rosaries and exchanging them at a merchant keeps the shard supply healthy, making this a sustainable — and borderline unfair — approach. For those bosses that seem impossible through skill alone, the Toxic Inventor offers a grinning, mischievous alternative that few can resist once they’ve tasted it.
Leave a Comment
Comments