If you have ventured into the scorching heart of Pharloom in Hollow Knight: Silksong, chances are you have already stumbled into the sprawling, relentless dune sea known as the Sands of Karak. This place is not just another dusty corridor — it is a full-blown trial by fire (and sand) that pushes your mobility to its limits. Between the wind-whipped sandstorms that obscure your view, the near-invisible tremors that signal a charging sandworm, and the crustacean warriors waiting to club you into a pit of spikes, I died here more times than I care to admit. But once I finally mastered the area and unlocked all its secrets, it became one of my favorite zones. Like every region in Silksong, the first step to conquering it is getting your hands on the map. And yes, you will need to buy it from Shakra before you can even see where you are.
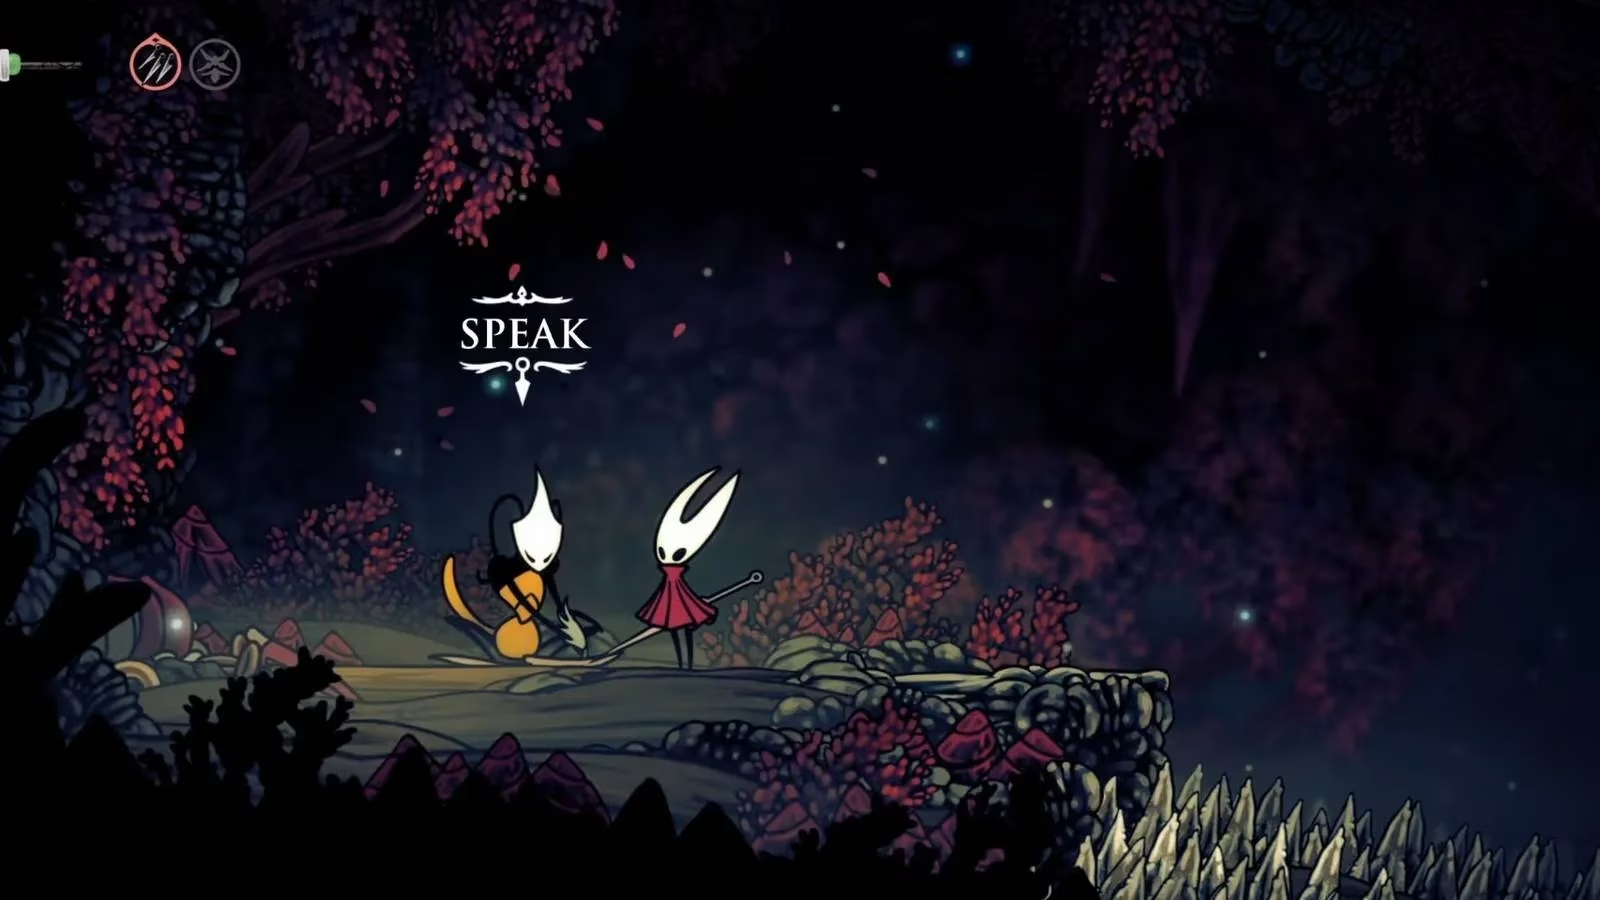
Finding Shakra and her beloved cartography services in this arid wasteland is a platforming gauntlet in itself. The good news? Once you know the route, it is fairly linear. The bad news? It expects you to have a solid grasp of Hornet’s upgraded movement kit — double jump, wall cling, dash, and especially the silk-glide are non-negotiable here. You will be pogo-bouncing off spiked sentries, chasing rapidly growing crimson vines, and weaving through spike traps that seem designed by someone who really hates bugs.
Starting the Journey from Blasted Steps
I strongly recommend beginning your trek from the westernmost edge of the Blasted Steps. From the Bellway fast travel point there, head west into the heavy sandstorm. The key here is to stay off the sand itself as much as possible — touching the shifting dunes even for a split second often alerts the subsurface sandworms, and once they are on your trail, escaping is a nightmare. Use the rings and floating platforms in the first room to climb straight upward. Wall jump your way into the next section and you will have officially entered the Sands of Karak from the southwestern corner. Now the real fun begins.
Ascending Through the Vine Maze
From this entry point, wall jump, glide, and dash upward while dodging the razor-sharp spikes that line the walls. You are aiming for an exit on the right. Once you slide through, head right into the next screen and look for a glowing yellow bulb nestled on a platform. Strike it with your needle and watch a thick red vine explode into life, surging forward and creating temporary footholds. This is one of the game’s most satisfying mechanics — you have to follow the vine as it grows, leaping from the platforms that sprout along its path. Do not stop to admire it too long though; a hard-shelled enemy is waiting just ahead.
Repeat the process: hit the next yellow bulb, ride the vine, and this time take the rightward branch when the platform forks. Wall jump upward, dash through another spike corridor, and pogo off a spiky ball to reach a ledge. By now you should be getting comfortable with the rhythm — strike bulb, ride vine, avoid harm. Keep going, exit right, and you will arrive at the massive vertical chamber that acts as the central hub of the Sands of Karak. If you ever get lost, this towering room is your landmark.
Meeting Shakra at Last
Once you are in that tall room, look to the left wall. You will spot Shakra’s signature rings dangling from the ceiling — the universal sign that a map merchant is nearby. Wall jump up to the left platform and take the exit. In this smaller chamber, you will find the cartographer herself sitting serenely on a sandy ledge, completely unfazed by the chaos outside.
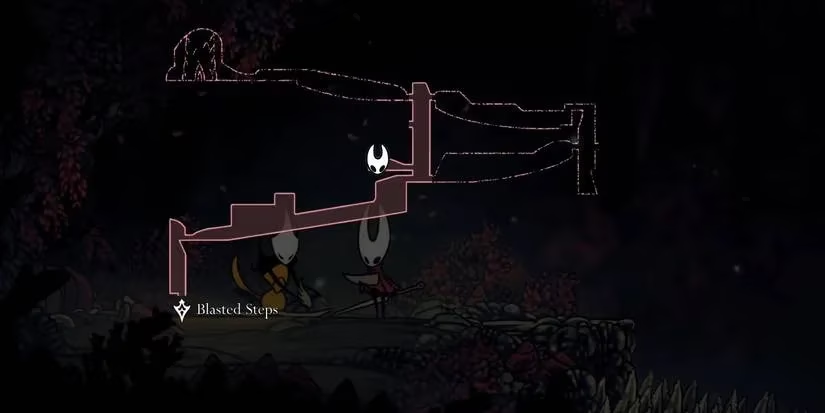
Like always, buying the map will cost you 90 Rosaries. It might seem steep if you are early in the game, but the investment is worth every bead. Once the map is unfurled, you can actually navigate purposefully instead of stumbling into death pits.
Now That You Have the Map: All the Critical Stops
First things first — unlock the nearest bench. Sprint to the easternmost edge of the Sands of Karak map and you will find a humble bench sitting under a crumbling arch. No payment required, but you do have to share it with a long-dead corpse. Search that body and you will grab a Simple Key, a handy item for opening locks elsewhere. This bench will be your resurrection point for the many boss attempts ahead.
Speaking of bosses, the Sands of Karak are absolutely packed with them — four in total. Here is a quick rundown:
-
Watcher at the Edge — lurking in the westernmost room, this towering sentinel guards a Grey Memento that you can claim after the fight.
-
Voltvyrm — found at the northernmost tip of the sands. Defeating it rewards you with the Volt Filament tool, which supercharges your Silk Skills with crackling electricity.
-
Raging Conchfly — the area’s main showdown, blocking the path to the Coral Tower in the northwest. Conquer this aggressive shelled warrior and you can delve into the tower dungeon to claim the Conchcutter, a throwable tool that ricochets off walls and makes short work of clustered enemies.
-
Crust King Khann — only available in Act Three, north of the Coral Tower. If you have already used the Conjoined Heart item, beating Khann grants the Encrusted Heart Memento.
For tool enthusiasts, there is also a Memory Locket tucked away in a room southeast of the Watcher at the Edge arena. This lets you carry an extra tool, which can be a lifesaver in later areas.
If you are pursuing sidequests, the “Lost Fleas” mission has a furry little lost soul hiding behind a breakable wall in the corridor southeast of the giant vertical room. And if you are a culinary completionist working on the delicacy collection for Grubfather’s feast, keep an eye out for rare ingredients scattered near the sandworm nests.
One last travel tip: there is no Bellway station inside the Sands themselves. Your fastest shortcut comes from the Blasted Steps fast travel point. Find the big vertical room, drop straight down into Blasted Steps, and unlock the new Bellway stop at the bottom-right path. It makes return visits a breeze.
With the map in your possession, a solid bench to fall back on, and all the boss locations pinned, the Sands of Karak transforms from a punishing blur into a rewarding playground. So grab your needle, watch the sand for tremors, and show Pharloom’s deadliest desert who is boss.
Leave a Comment
Comments