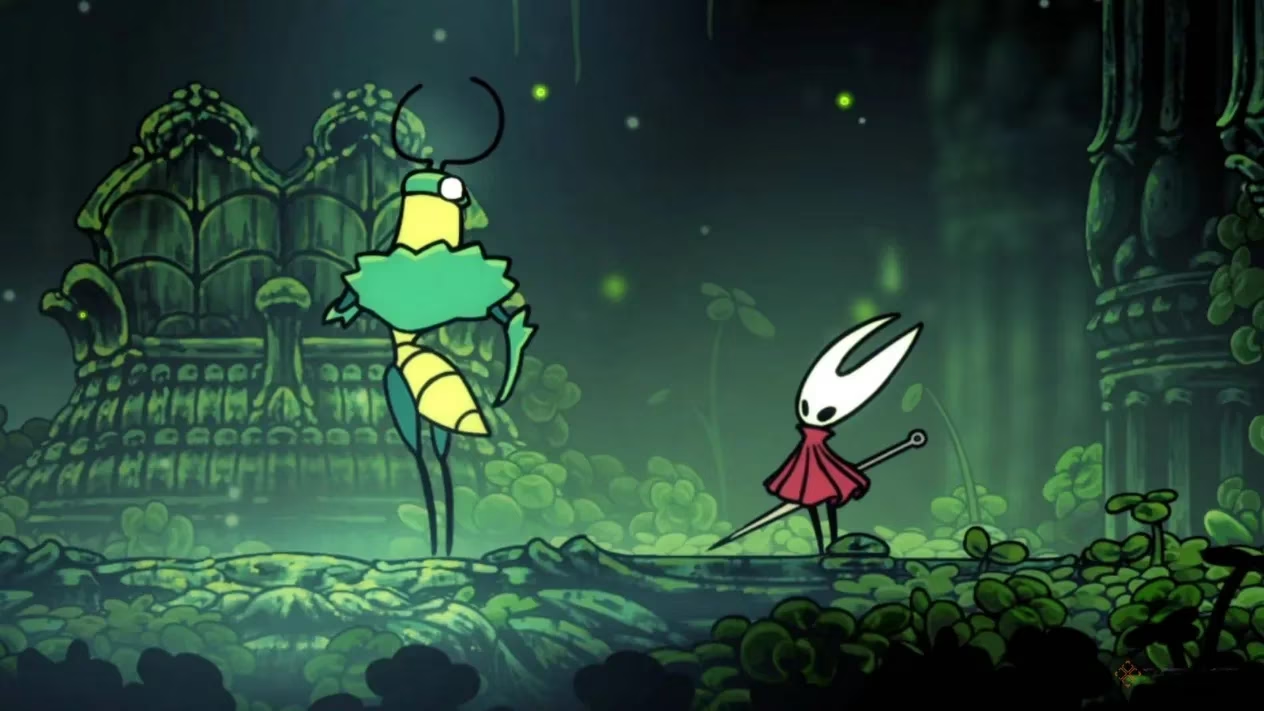
Hollow Knight: Silksong’s map is a sprawling, tangled web of over 20 biomes, and plenty of them slip right under the radar if you just barrel down the main story path. Some places, though, don’t just hide—they make you work for the privilege of finding them. The Clover Dancers boss fight is exactly that kind of secret, tucked away at the end of the Lost Verdania, a biome so off the beaten track you might never stumble into it without a helping nudge. Reaching this duel takes patience, a sharp eye, and a handful of very specific items, but the encounter itself has a strange familiarity that longtime Silksong adventurers will appreciate—assuming they don’t get caught in the dancers’ deadly rhythm first.
🗺️ How To Reach The Clover Dancers
Let’s be real: unlocking this fight is a mini-journey all on its own. The game doesn’t exactly hand you a map marker and a friendly wave. Instead, it strings together a series of events that can feel almost like a side-quest from beginning to end. Here’s the lowdown, step by step:
| Step | What to do | Key details |
|---|---|---|
| 1️⃣ | Head to the Sinner’s Road biome from the top of Greymoor. | Bring a Simple Key – you’ll need it to unlock the cell holding the Green Prince. |
| 2️⃣ | Free the Green Prince inside. | This elusive fellow pops up multiple times; don’t forget to chat with him now. |
| 3️⃣ | If you’re still in Act Two, find the Green Prince above the Citadel Spa. If you’ve moved into Act Three (or already spotted him near the spa), skip that and track him down near the Cogwork Dancers boss arena. | His location shifts with the story, and timing is everything. |
| 4️⃣ | Chat with him while he’s holding a defeated Cogwork Dancer. | This triggers the next step—without this conversation, the door stays shut. |
| 5️⃣ | Return to Greymoor and take the path to the right of Crow Lake. | Use the Elegy of the Deep, acquired in Act Three, to finally enter the hidden realm of Lost Verdania. |
| 6️⃣ | Explore every nook of Lost Verdania and collect all the essences from statues, glowing flowers, and the shrine on the far right side. | Miss even one and the way forward refuses to open. |
| 7️⃣ | Enter the new mini-area in the top middle of the biome, wall-climb up, then head left. | You’ll find the Green Prince waiting one last time. |
| 8️⃣ | Speak to him to kick off the Clover Dancers boss fight. | Take a deep breath—the real test starts now. |
Yeah, it’s a lot. But that’s what gives the Clover Dancers such a legendary status among the community. You really have to earn this scrap.
⚔️ How To Beat Clover Dancers
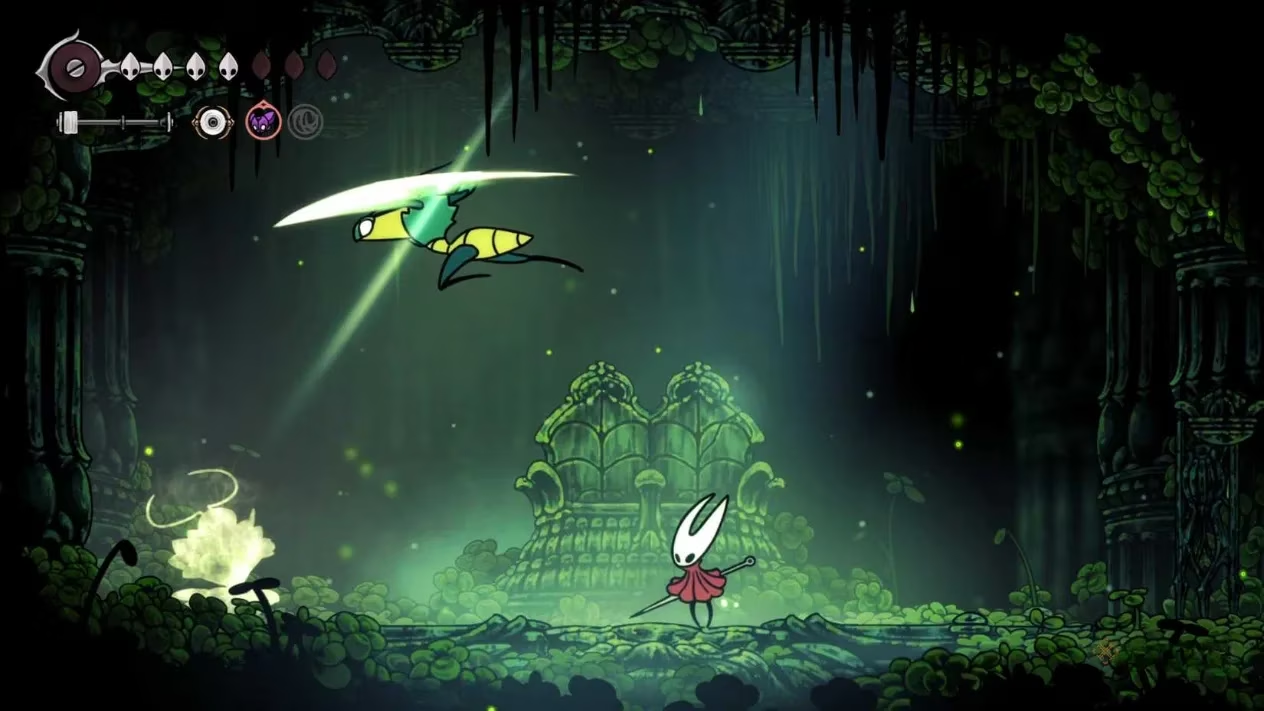
As soon as the battle starts, anyone who’s squared off against the Cogwork Dancers will feel right at home—for about two seconds. The arena layout, the two-opponent setup, the rhythmic movement patterns… it all screams “deja vu.” Then that little twist hits you: one of the dancers glows with a ghostly white aura and has no solid body. Try to smack that phantom, and your blade passes through like mist. Zero damage. The only real target here is the Green Prince himself. It’s a clever little trick that forces you to ignore half the visual noise and focus on the one enemy that actually matters.
The fight unfolds across two distinct phases, and the transition cranks up the chaos nicely.
🌟 Phase One: Synchronized Steps
Both dancers move together, gliding from spot to spot in eerie unison. Just before they shift, a white ray telegraphs the direction of the next movement—watch for that flash and you can predict where the Prince will land. The tactic is classic hit-and-run: land one or two clean strikes every time the boss pauses, then back off. Don’t get greedy; the phantom is always a distraction, and overcommitting often leads to a faceful of partner attacks.
🔥 Phase Two: Separate Beats
Now the gloves come off. The dancers break formation and take turns moving. The shadow dancer will deliberately place itself between you and the Green Prince, soaking up your swings with that invincible body. This turns the fight from a simple timing exercise into a frantic game of angles, where you’re constantly repositioning just to get a clear line of sight. The rhythm remains the same—strike when the Prince stops—but the extra obstacle makes every hit feel like a narrow escape.
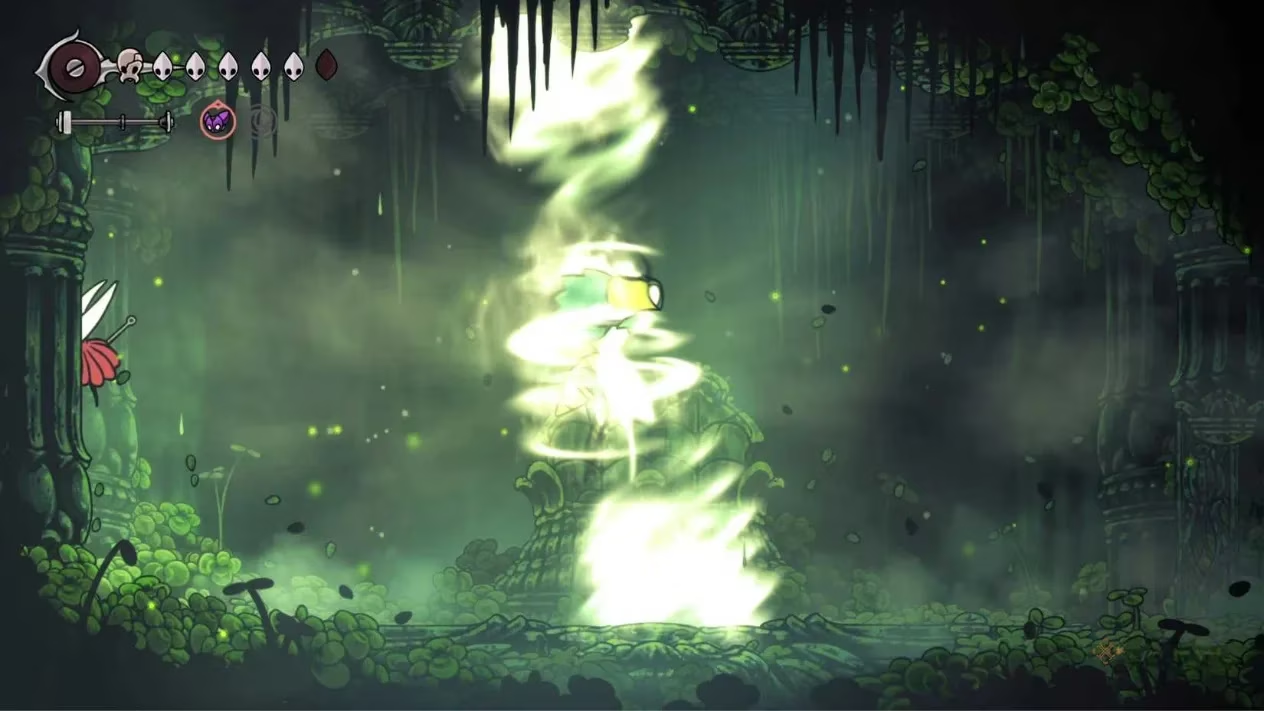
One attack deserves a special shout-out, because it’s the move that’ll probably eat up most of your health bar the first few tries. When both dancers converge at the arena’s center, instead of a straightforward AoE blast, they summon a rotating tornado that sweeps across the battlefield like a furious waltz partner. Dodging this thing is half art, half panic.
-
If the lower part of the tornado swings toward you: leap onto the nearby wall, scramble to the top, then use Clawline to zip to the opposite side and drop straight down. Speed is your best friend.
-
If the lower part moves away from you: sprint to the far corner, wall-climb up to the top, and wait a heartbeat before falling. The timing here is crueler—you must land in the brief window after the tornado fades but before the boss teleports to your wall and swats you like a gnat.
The second scenario is brutal because, the instant that tornado vanishes, one of the dancers appears right beside your wall. Nail the timing mid-fall and you’ll feel like an acrobat and a scholar wrapped in silk. Fail, and you’ll eat a hit that’ll sting for a while.
Once the Green Prince finally yields, the reward pops up: the Conjoined Heart. This mysterious item can slot right into the main story of Act Three as a replacement for one of the hearts normally required, shaving a bit of backtracking off your quest. But honestly? A lot of players choose to keep it as a trophy instead, displaying the heart proudly in their bellhome as a souvenir of one of Silksong’s most intricate hidden battles. It’s a little piece of proof that says, “Yeah, I braved the Lost Verdania, and I danced with the best.”
Leave a Comment
Comments