In Hollow Knight: Silksong, Mask Shards are the porcelain equivalent of a vitamin supplement—tiny, scattered, and absolutely essential to keep Hornet from folding like a paper crane. Pharloom does not hand these out for free, however. No, each shard behaves like a shy little hermit that hides behind boss fights, lava geysers, trigger-happy spike wheels, and the occasional merchant with a suspiciously charming smile. Tracking down all 20 is a full-time job, but somebody has to do it. Here is the full rundown for 2026.
How Mask Shards Work
The rules have not changed much from the original Hollow Knight. Gather four Mask Shards, and Hornet instantly receives a finished Ancient Mask, which bumps her max HP by one. It sounds simple, but Pharloom loves to hide these little treasures behind wish quests, platforming gauntlets, and locked doors. Unlike the 16 shards from the first game, Silksong dares hunters to find 20—so keep your eyes peeled.
Below is a quick reference table, followed by the full walkthrough.
| # | Area | How to Obtain | Key Requirement |
|---|---|---|---|
| 1 | Bone Bottom | Buy from Pebb for 300 Rosaries | Act 1 onwards |
| 2 | Far Fields | Hit sticky bombs | Drifter's Cloak |
| 3 | Far Fields | Escape rising lava in Skull Cavern | Clawline, Faydown Cloak |
| 4 | Far Fields | Beat Sprintmaster Swift's race | Clawline, Faydown Cloak, Silkspeed Anklets, Act 3 |
| 5 | Deep Docks | Reach the shelf room | Cling Grip, Swift Step |
| 6 | Wormways | Break a hidden wall | Swift Step |
| 7 | Bellhart | Complete Savage Beastfly hunt | Wishboard quest |
| 8 | Bellhart | Defeat Gurr the Outcast | Act 3, Hidden Hunter quest |
| 9 | Bellhart | Destroy 12 Void Masses | Act 3, Dark Hearts quest |
| 10 | Shellwood | Reach the hanging vines platform | Drifter's Cloak |
| 11 | Weavenest Atla | Climb above the lava geysers | Swift Step, Cling Grip, Drifter's Cloak, Needolin |
| 12 | Blasted Steps | Navigate the vertical passage | Drifter's Cloak, Clawline, Faydown Cloak |
| 13 | Choral Chambers | Buy from Jubilana for 750 Rosaries | Wandering Merchant wish |
| 14 | Cogwork Core | Clear the shifting platform room | Cling Grip, Drifter's Cloak |
| 15 | The Slab | Avoid spike wheels to the northwest | Key of Apostate, Clawline, Cling Grip, Faydown Cloak, Drifter's Cloak |
| 16 | Mount Fay | Enter the hollow rock pillar | Cling Grip, Faydown Cloak |
| 17 | Mount Fay | Climb the hidden ice passage | Cling Grip, Clawline, Faydown Cloak, Silk Soar, Act 3 |
| 18 | Whispering Vaults | Unlock the ladder patch and hit the box | Drifter's Cloak, Cling Grip |
| 19 | Bilewater | Enter the third east passage | Drifter's Cloak, Cling Grip, Clawline, Faydown Cloak |
| 20 | Wisp Thicket | Evade homing fire and poison pool | Drifter's Cloak, Cling Grip, Clawline, Faydown Cloak |
Bone Bottom: A Merchant with Expensive Taste
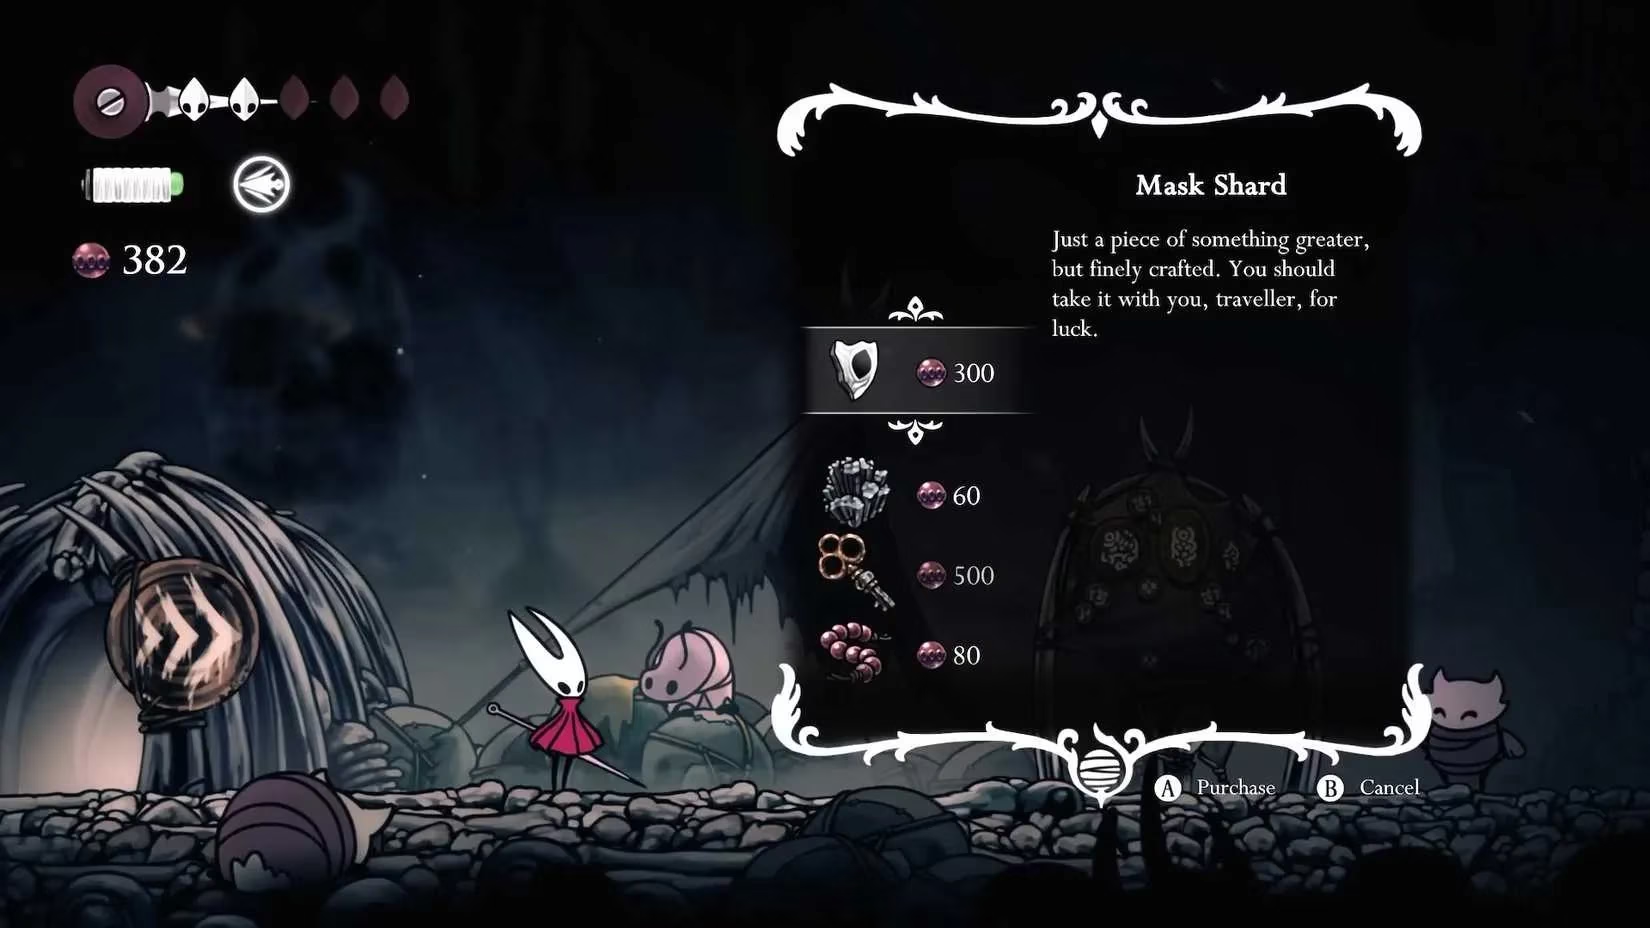
The first shard is practically a welcome gift, assuming Hornet has 300 Rosaries burning a hole in her cloak. Head west of Moss Grotto to Bone Bottom and visit Pebb's shop. The merchant does not haggle, but at least there is no boss fight involved. That counts for something.
Far Fields: Bombs, Lava, and One Angry Runner
Far Fields holds three shards, and none of them are a walk in the park. For Mask Shard #2, Hornet needs the Drifter's Cloak and a finished Flexile Spines Hunting Quest. The sticky bombs here act like reluctant assistants—each one must be smacked in the right order until Hornet floats up to the ceiling. Once the fourth bomb goes boom, the shard drops to the floor, looking almost apologetic for the hassle.
Mask Shard #3 lives at the bottom of Skull Cavern, where rising lava behaves like a grumpy landlord who wants everyone out immediately. With Clawline and Faydown Cloak equipped, Hornet descends deep, clears the enemies, and rides the steam upward. The shard waits on the east corner, cool as can be.
For Mask Shard #4, Hornet must race Sprintmaster Swift three times in Act 3. The first race rewards a Rosary Necklace, the second a Beast Shard, and the third finally coughs up the Mask Shard. Losing is not a great look, so hold onto your needles.
Deep Docks and Wormways: Wall Hugging Season
Deep Docks has one shard (#5) sitting in a shelf room, but only after Hornet equips Cling Grip and Swift Step. The volcanic ground down there has a serious attitude, so bouncing off platforms is mandatory. The shard itself does not fight back—it just waits politely while everything around it tries to melt Hornet's boots.
Over in Wormways, Mask Shard #6 hides behind a very unfriendly wall. Hornet must dodge Cragglers, survive acid attacks, and then smack the east wall along the water's edge to reveal a hidden corner. The wall never saw it coming.
Bellhart: Wishboard Drama
Bellhart's shards are all tied to quests, which means Hornet's social calendar fills up fast. Mask Shard #7 comes from completing the Grand Hunt Savage Beastfly quest—defeat the beast, grab the Horn Fragment, and trade it at the wishboard. Simple enough, if one ignores the part about fighting a former boss's neighbor.
Mask Shard #8 requires the Hidden Hunter quest in Act 3. Hornet follows a trail, spots a suspiciously shiny object in the grass, and promptly falls into a trap. Gurr the Outcast waits below, probably chuckling to himself. After the fight, Hornet swipes the Grass Doll from the trophy room and trades it for the shard. Easy, right? Not exactly.
Mask Shard #9 is the Dark Hearts quest, and it is no joke. Hornet must hunt down 12 Void Masses scattered across Pharloom—3 in Whispering Vaults, 5 in Choral Chambers, 1 in High Halls, 2 in The Marrow, and 1 in Hunter's March. It is less of a scavenger hunt and more of an extermination tour.
Shellwood to Choral Chambers
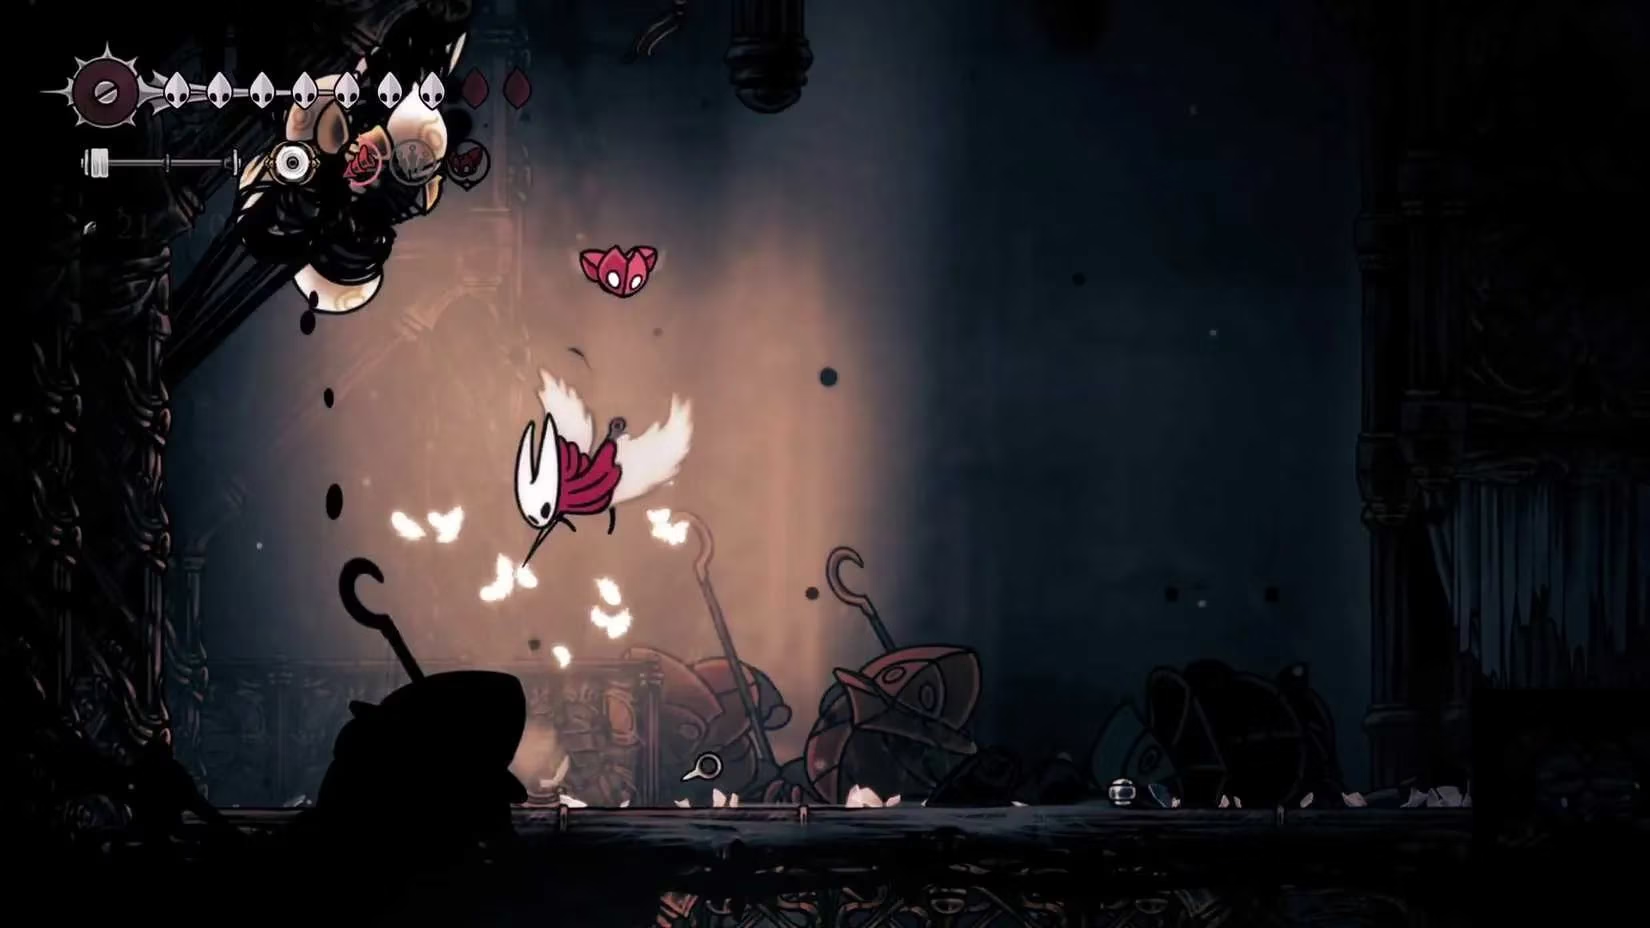
Mask Shard #10 in Shellwood is almost peaceful by comparison. With Drifter's Cloak equipped, Hornet hops past white blooming flowers and hanging vines to claim the shard. It is a rare moment where Pharloom behaves.
Mask Shard #11 in Weavenest Atla is a different beast entirely. Hornet needs Swift Step, Cling Grip, Drifter's Cloak, and Needolin, then must navigate lava geysers, hidden walls, and floating objects. The shard perches above the final platform like it enjoys watching climbers sweat.
Mask Shard #12 in Blasted Steps demands Drifter's Cloak, Clawline, and Faydown Cloak. Spikes and boulders do their best to turn Hornet into a pincushion, but the shard waits in the upper left section for anyone stubborn enough to keep climbing.
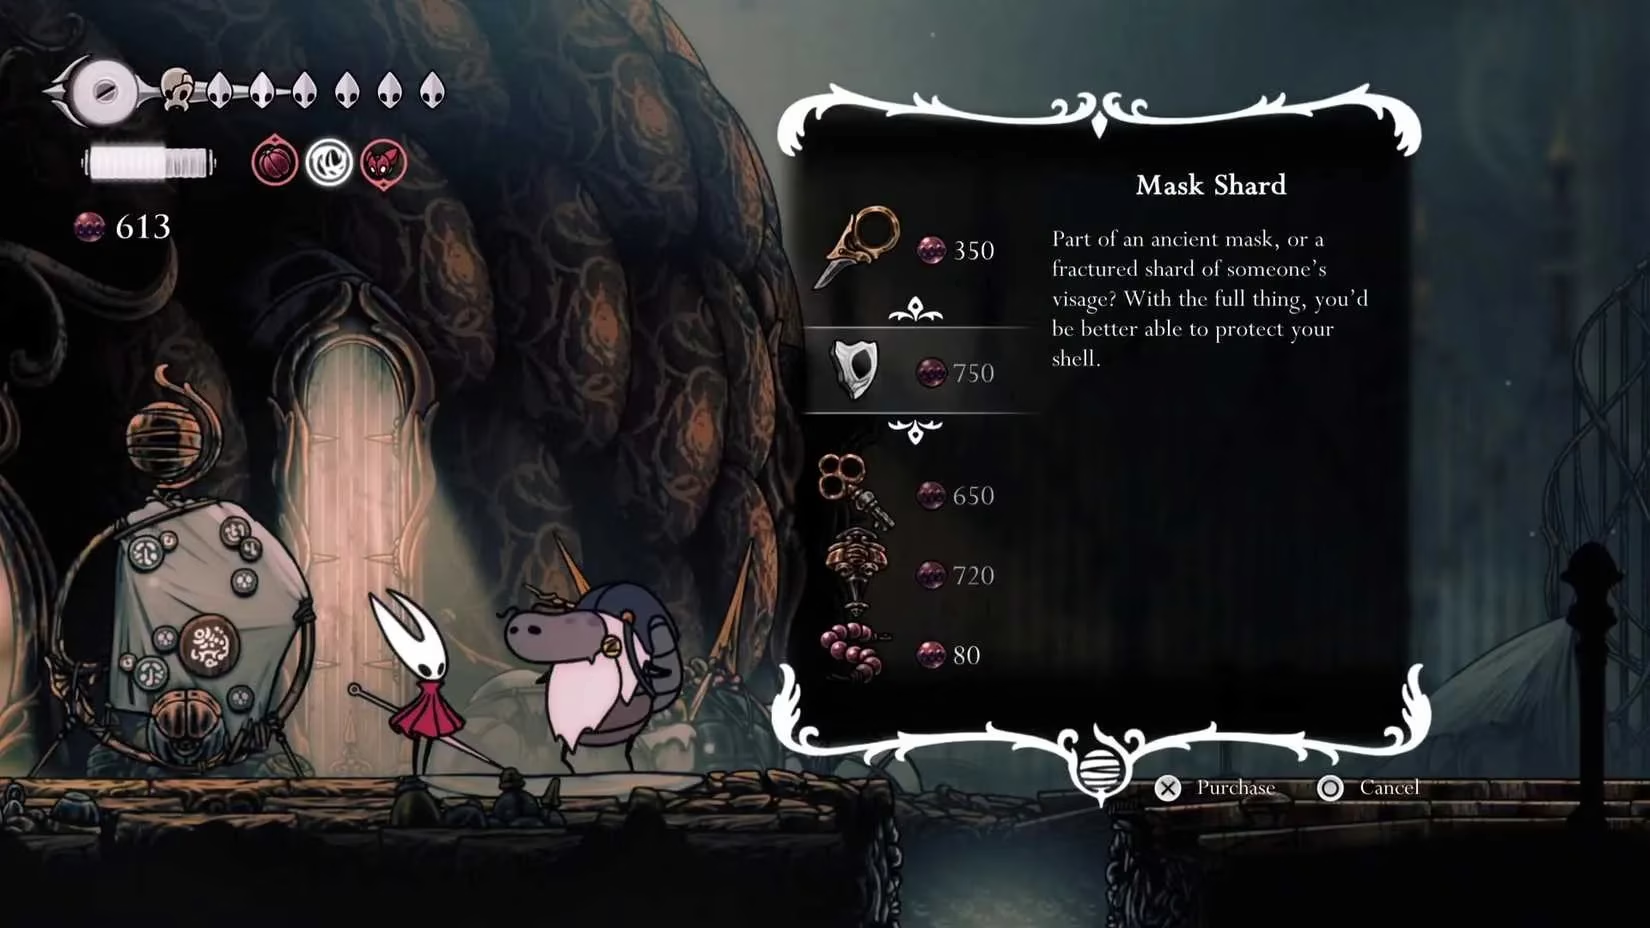
Mask Shard #13 is a merchant purchase, but with a catch. Hornet must first complete The Wandering Merchant wish, then find Jubilana near Citadel Spa. After teleporting to the First Shrine bench in The Vaults, the merchant accepts 750 Rosaries and hands over the goods.
Cogwork Core to Wisp Thicket
Mask Shard #14 in Cogwork Core locks Hornet in a room where platforms shift like they have a mind of their own and enemies pour in for a rowdy house party. After clearing the room, the shard sits to the west, up a climb.
Mask Shard #15 in The Slab is where spike wheels get their moment to shine. Hornet needs Key of Apostate, Clawline, Cling Grip, Faydown Cloak, and Drifter's Cloak—practically a full suitcase of abilities. The spike wheels spin with malicious glee while Hornet uses floating cages and walls to reach the northwest corner.
Mount Fay offers two shards. Mask Shard #16 hides inside a hollow rock pillar, reached with Cling Grip and Faydown Cloak. Mask Shard #17 is an Act 3 exclusive and requires Cling Grip, Clawline, Faydown Cloak, and Silk Soar. Hornet breaks a ceiling, carves through ice blocks, and climbs an icy wall while dodging floating enemies. The shard waits at the top, frosty but obtainable.
Mask Shard #18 in Whispering Vaults involves hitting a ceiling to reveal a ladder patch, then clobbering a movable box. It is less about combat and more about giving the environment a thorough smack.
Mask Shard #19 in Bilewater sends Hornet through vertical tunnels while flying creatures spray acid like tiny, airborne sprinkler systems. The final route even has poisonous water, because of course it does.
Mask Shard #20 in Wisp Thicket is a grand finale of homing fire attacks and a poison pool. Hornet can bounce off hanging red bags to dodge the fire, then glide to the upper west section for the final piece. It is the last shard, and it makes sure everyone knows it.
Trophies and Achievements
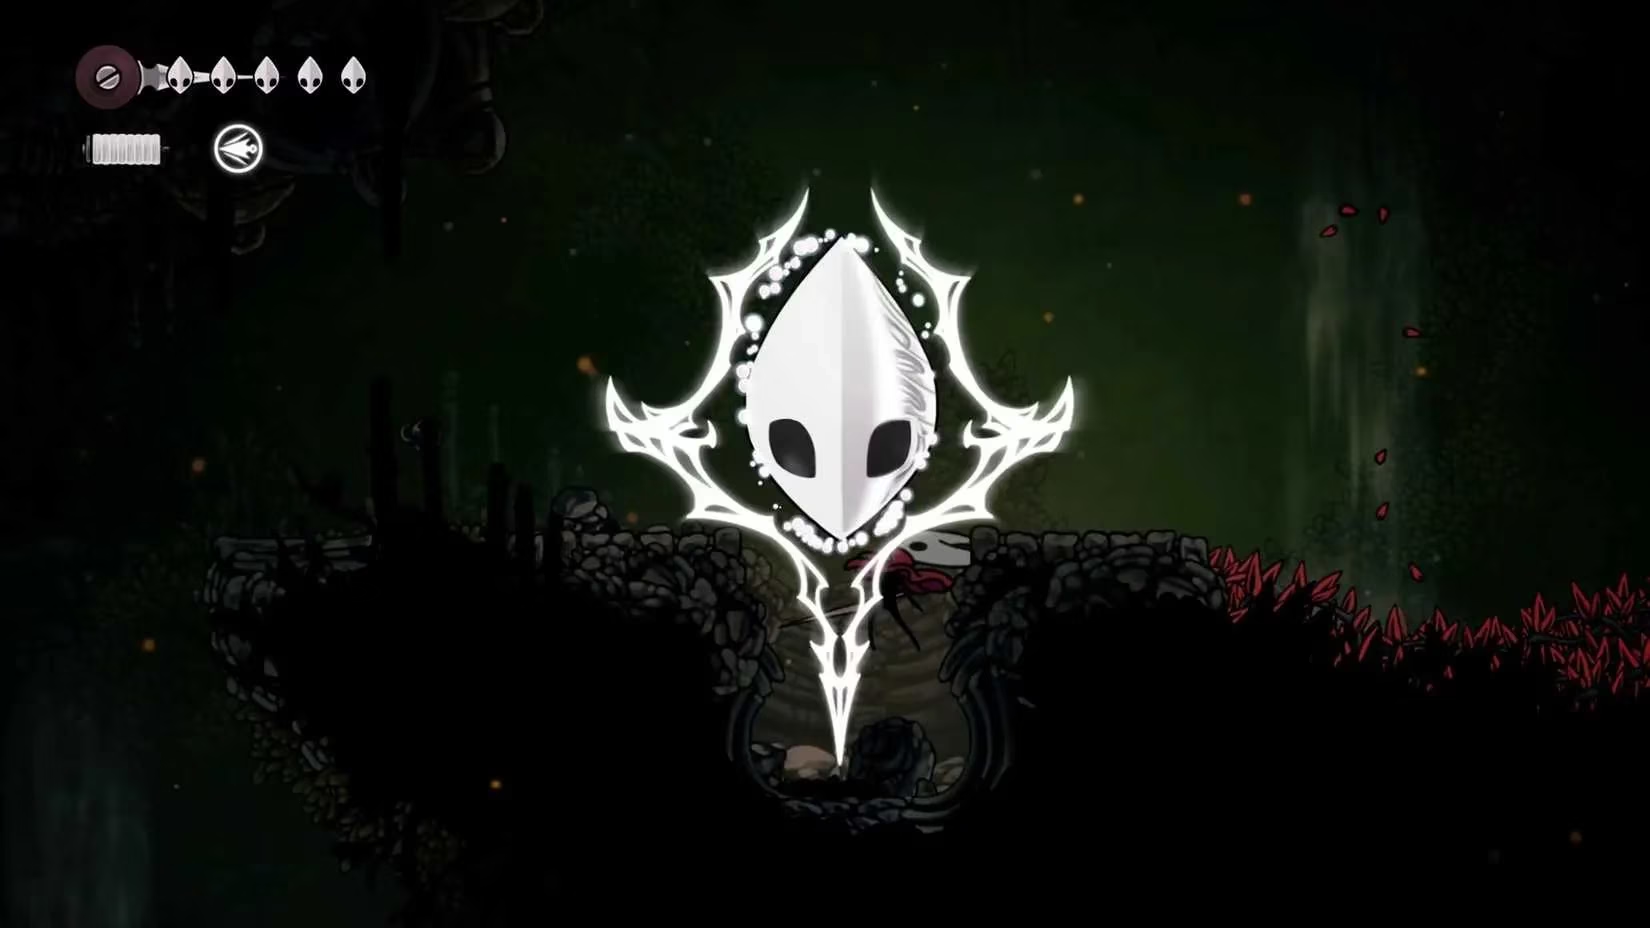
Collecting all 20 Mask Shards in Hollow Knight: Silksong unlocks the associated trophies and achievements—and more importantly, grants Hornet enough health to survive Pharloom's worst ideas. It is a long road, but every shard collected is one more reason for the enemies of Pharloom to start worrying.
Leave a Comment
Comments